Deploy APEX Docker Image on Oracle Container Cloud Service
Hi, my name is Daniel! I'm a Full Stack Software Developer from Germany, blogging mainly about Oracle APEX and related topics. 🚀
As I really like Docker and use it pretty much in my daily life as a developer, it became a inherent part in my workflow. I use it for my development instances or for having test servers pretty fast available. Even sharing the images with other devs or have some demo environment within minutes, Docker sets the bar pretty high. Usually I use my own made Docker Image which contains the following software:
- Oracle Linux 7.3
- Oracle Database 12.2.0.1 Enterprise Edition with non-CDB architecture
- Oracle APEX 5.1.2
- Oracle ORDS 3.0.11
- Oracle SQLcl 17.2.0.184.1230
- Apache Tomcat 8.0.45
- Java JDK 8u144
- OraOpenSource Logger 3.1.1
- OraOpenSource OOS Utils 1.0.0
- APEX Office Print 3.x (Cloud Package)
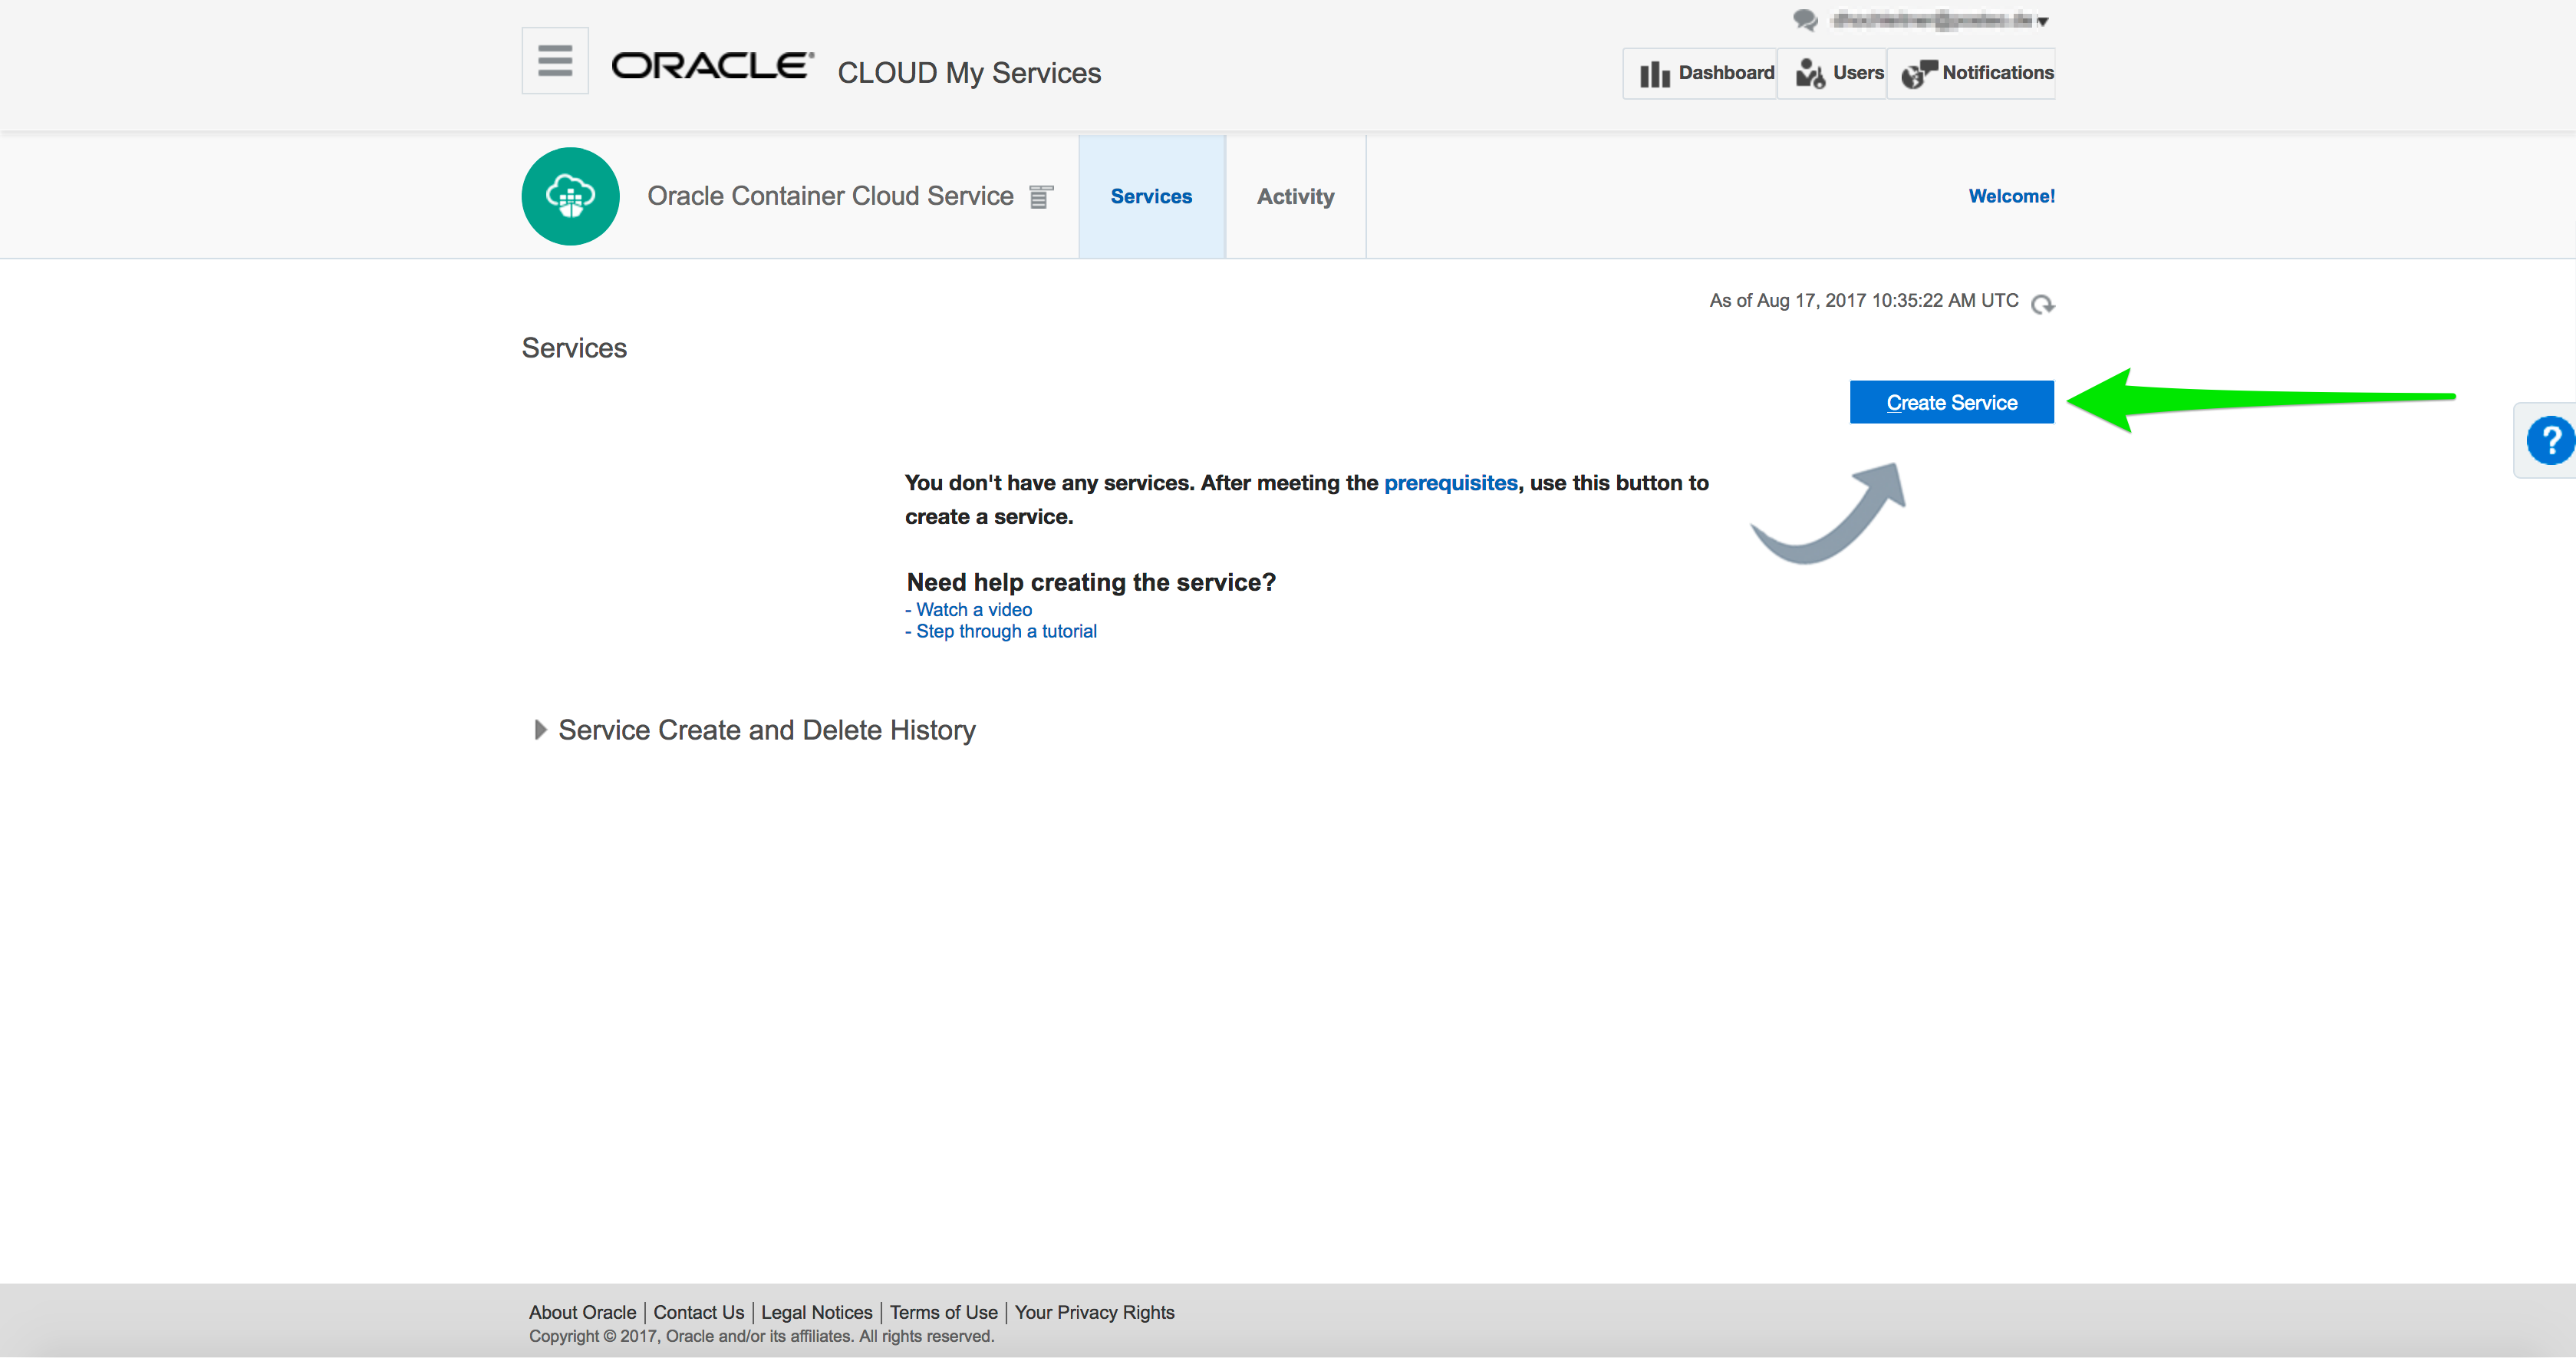
The build scripts are available on GitHub and open source: Oracle Database & APEX Developer Docker Image With this software shipped in one Container I have everything in place to get my work done. (Of course I know that this is usually not the way Docker works, normally you have only one software component in one Docker container. But for me it works quite well, getting all the software I need without having the overhead of a real VM) Oracle Cloud Services So in the past I only used Docker on my local machines or servers but I was interested if my image works in the Oracle Cloud too. So I decided to give it a try, and lets have a look what Oracle have in petto. (Anticipation: After getting used to the Oracle Cloud UI, which took only an hour or two, I really liked how the Database Cloud Service and Container Cloud Service worked) First step was to get into the Oracle Cloud Services, and for that purpose Oracle offers a free try period, which enables you to test it either for 30 days or until you consumed services worth $300. Here you get started: https://cloud.oracle.com/en_US/tryit After my registration was successful, Oracle had my cloud account ready within 4 hours. (Which is OK, but of course it could be a bit faster if you have a look at other big cloud companies...). In the welcome mail, I got all the information I needed to get into the Oracle Cloud. Thus we are only interested in the Container Cloud Service in this blog post, I will not write about the other possibilities within the Oracle Cloud. Having that said, I really liked the Database Service, too :) Main focus is to get our own built Docker image running in the Oracle Container Cloud Service so we can use it and can connect to the services like APEX, Database or SSH. Create an Oracle Container Cloud Service This was really easy to accomplish, after login I navigated to the Container Service Section and created a new Service. The following screen shots will show the different steps and the create wizard. 


 About 30 minutes later I received an mail from Oracle, that my newly created Container Service is now up and running. So I navigated to the detail page of my Container Service to get some information about it. The most important information is the Public IP address, this is the IP we use to connect to the admin panel of the Container Service: [code language="text" autolinks="false"]https:// e.g https://123.123.123.123[/code]
  Oracle Container Cloud Service Having this information we can login to our Oracle Container Cloud Service entering https + Public IP into our browser. After we have successfully authenticated we will land on a dashboard page of the service.
  For now we are finished within the Oracle Cloud web interface, we successfully got an cloud account, created a Container Service and logged into that service. This procedure was indeed straight forward and not that complicated. It took me about 5-10 minutes to get this done. Really nice! Next is preparing our Docker image so we can use it in the Oracle Container Cloud Service. Build Docker Image I am not going into much detail here, because the whole procedure creating a Docker image is described on GitHub. Just to see the steps:
- Clone or download the GitHub repository to your local machine [code language="bash"]git clone https://github.com/Dani3lSun/docker-db-apex-dev.git[/code]
- Download missing software components (like Oracle DB or Oracle APEX ...)
- Build the Docker image [code language="bash"]docker build -t db-apex-dev-image .[/code]
 Upload Docker image to Docker Hub Thus it is needed that the image is uploaded to some location our Oracle Container Cloud Service has access to, I used Docker Hub to get this done. But of course you can use every other or maybe your own Docker registry server. Important is that the Oracle Cloud server can access your registry server. (What is a Docker registry server? Basically it is a server which stores and distributes Docker images, more details here) The benefit of using Docker Hub is that we only have to create an account there and the Oracle Container Cloud Service has per default access to that registry server, which means we don´t have to configure anything. After creating an account on Docker Hub we have to login on our client using the Docker command line tools [code language="bash"]docker login[/code] Entering username and password of the Docker Hub account and we are done. Next, we upload our Docker image to Docker Hub using again the command line tools: [code language="bash"]docker tag db-apex-dev-image /db-apex-dev-image docker push /db-apex-dev-image[/code] (More details about Docker push can be found here) Once the upload process finished, we can go back to our Oracle Container Cloud Service admin panel. (This process can take some time, dependent on your networking bandwidth. The image has about 15-16GB) Note: Make sure that this image is publicly available, this can be configured in the Docker Hub web interface. If you want to have it private than you have to configure your Docker credentials in the Oracle Container Cloud Service admin panel. Create a new Service Within the Oracle Container Cloud Service admin panel we can now create a new service, which basically is a Docker run command. So we define how our Docker image would be configured to run. (e.g port mappings, temp file size, ...) The most simple and fastest way is to use the Docker Run Command editor and paste in a docker run config like this: [code language="bash"]docker run \ --name=db-apex-dev-container \ -p=2222:22/tcp \ -p=8080:8080/tcp \ -p=1521:1521/tcp \ -v=/dev/shm \ -e="occs:description=Oracle Database and APEX Developer Docker Service" \ "/db-apex-dev-image" \ --tmpfs /dev/shm:rw,nosuid,nodev,exec,size=2g[/code] This defines:
- HTTP port mapping: 8080 tcp
- DB port mapping: 1521 tcp
- SSH port mapping: 2222 tcp
- Volume: /dev/shm
- Volume used as tmpfs with the size of 2GB
After we have done that, all the necessary input fields of the create window are automatically filled. Only the service name input have to be set by hand. Here are some screen shots which describe the procedure. 


 Finally we have our Container Service defined and now we will see it up and running. The only thing we have to do now is to press the green Deploy button. Now Oracle fetches our Docker image from Docker Hub and runs it with our configured run parameters. This step takes a few minutes to complete.
  Connect to Services To get the public address of our running services we have to go to the hosts detail page, this IP address is used for all containers/services running in this particular Container Cloud Service. This means all network ports which are defined, can only be applied once.
  Lets say our Public IP address is 123.123.123.124 then the services would be accessible like: APEX:
http://123.123.123.124:8080/ords
DB:
sqlplus system/oracle@123.123.123.124/db12c
SSH:
ssh root@123.123.123.124 -p 2222
Note: These are the default port mappings as we defined in the docker run section above. The users and passwords are defined before building the docker image, read more about it on GitHub. For security reasons the DB port should not be available publicly (maybe over SSH tunneling) and Tomcat should run over SSL 

 That´s it! :) We are done and have a up and running Docker image in the Oracle Cloud packed with all the software components we like...